• Welcome to the ElgrandOC forum.

    You will find that the majority of the forum is locked, but do not worry. You can unlock more content by registering to the forum completely free. Sign up is automatic, does not require email confirmation and is instant. Feel free to browse through the sections to see what topics have been covered before you register.
    You can register for an account by CLICKING HERE

    Once you have registered, you will unlock more of the forum content. You will not unlock all of the content until you have reached 10 posts. This is to give you an opportunity to chat to existing members and help to integrate you into the forum community.
    We are a friendly and helpful community and there is a wealth of infomation contained within the forum. Please feel free to register, introduce yourself and get to know your fellow members.

    Feel free to look at the Frequently Asked Questions section, the Meets/Events section and the Competition Section without having to register.
    We look forward to getting to know you and help you with any questions or problemd you have with your Elgrand.

What have you done to your Elgrand today?

If the curvature is different as well ( I wasn’t sure) then I would try to confirm fitment of s1 corners before shelling out mate.

Remember to use a none setting sealant mate, you wouldn’t be the first to stick em in permanently lol
TBH Dave, the curvature difference is minimal and could be just down to me nipping up one end too tight before locating the other end properly. "cack-handed Keith" is how my dad often described me 🤣
 
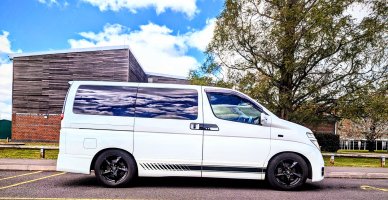
Got busy today after having the hump about the bastard who dinked my door

. Gave her a bit of a buffing

1000005606.jpg1000005605.jpg
. Adjusted rear camber to max. Need to upgrade the bolts to get a bit more adjustment, as it's still out somewhat.

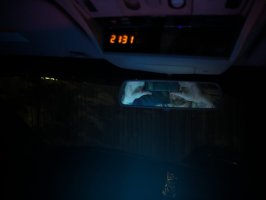
. Fitted a clock. The hassle outweighed the benefit but, it meant I could remove the black tape off the screen. Took the feed from the Auto DJ supply.

1000005614.jpg

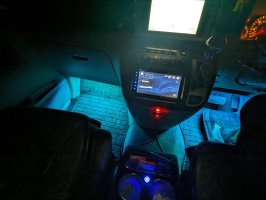
. Hard wired in the foot well lights (just on a usb before-too many trailing cables)
1000005613.jpg

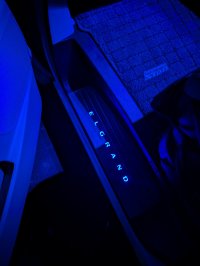
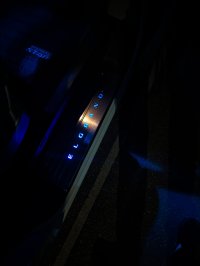
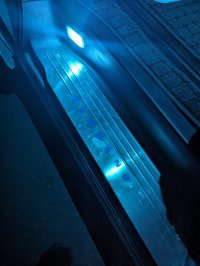
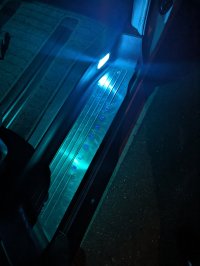
. Wired in the step lights properly as the previous owner lashed them up. Fronts off of the map light circuit. Rears off of the over door lamp circuit.
1000005611.jpg1000005608.jpg1000005610.jpg1000005609.jpg
I was going to have a pop at the steering wheel controls into my Pioneer head unit, but it got too dark and working using my phone torch had caned my battery.
 
Last edited:
Got busy today after having the hump about the bastard who dinked my door

. Gave her a bit of a buffing

View attachment 100970View attachment 100971
. Adjusted rear camber to max. Need to upgrade the bolts to get a bit more adjustment, as it's still out somewhat.

. Fitted a clock. The hassle outweighed the benefit but, it meant I could remove the black tape off the screen. View attachment 100963

. Hard wired in the foot well lights (just on a usb before-too many trailing cables)
View attachment 100964

. Wired in the step lights properly as the previous owner lashed them up. Fronts off of the map light circuit. Rears off of the over door lamp circuit.
View attachment 100965View attachment 100966View attachment 100967View attachment 100968
I was going to have a pop at the steering wheel controls into my Pioneer head unit, but it got too dark and working using my phone torch had caned my battery.
Where did you get those cool step inserts ..great job
 
Where did you get those cool step inserts ..great job
They’ve been on Facebook/ ebay / jauce etc etc
Just googled and got these within a second or two
https://maxaudio.com.my/door-side-s...eel-led-door-side-sill-step-scruff-plate.html
 
Just fitted my new window bolts.
One was stripped last year so was bodged shut.
Have had the parts a while just did not fancy stripping the door trims off the get to the hinge.
20240421_140947.jpg
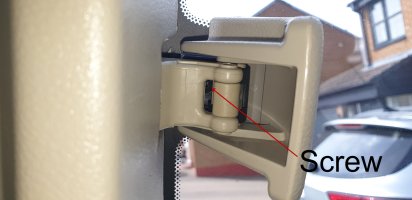
Whilst having a look at the today I thought hang on a bit.
The Japanese always overengineer everything on an Elgrand so had a look at the catch.
123.jpg

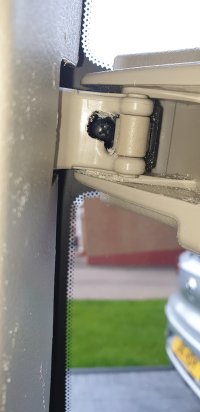
So out with the Dremel
A little plastic remove and hey presto
Easy access to the screw.

20240421_132209.jpg
You don't see it when the window is closed and anyway the curtain covers it.
 
I bet he can't get me a series one rider light bar lol
Be easier to find rocking horse doo doo , unless you change to red lol
I know Matt @AceImports had the corner lights but can’t remember if he had the central bar or not
Will keep a look out
 
Last edited:
Be easier to find rocking horse doo doo , unless you change to red lol
I know Matt @AceImports had the corner lights but can’t remember if he had the central bar or not
Will keep a look out
Cheers for that no offence meant
 
What if @speedyg and @RuskinStreet did a corner light swap.
The biggest problem @LeStempy is the fact that the S1 apears to have both brake & tail lights in the light bar, the S2 only has tail lights. S1 to S2 is less of an issue apart from the fact I cannot get my tail lights in the recessed sockets on the bar. Bit of hacking about to do o_O
 
Back
Top